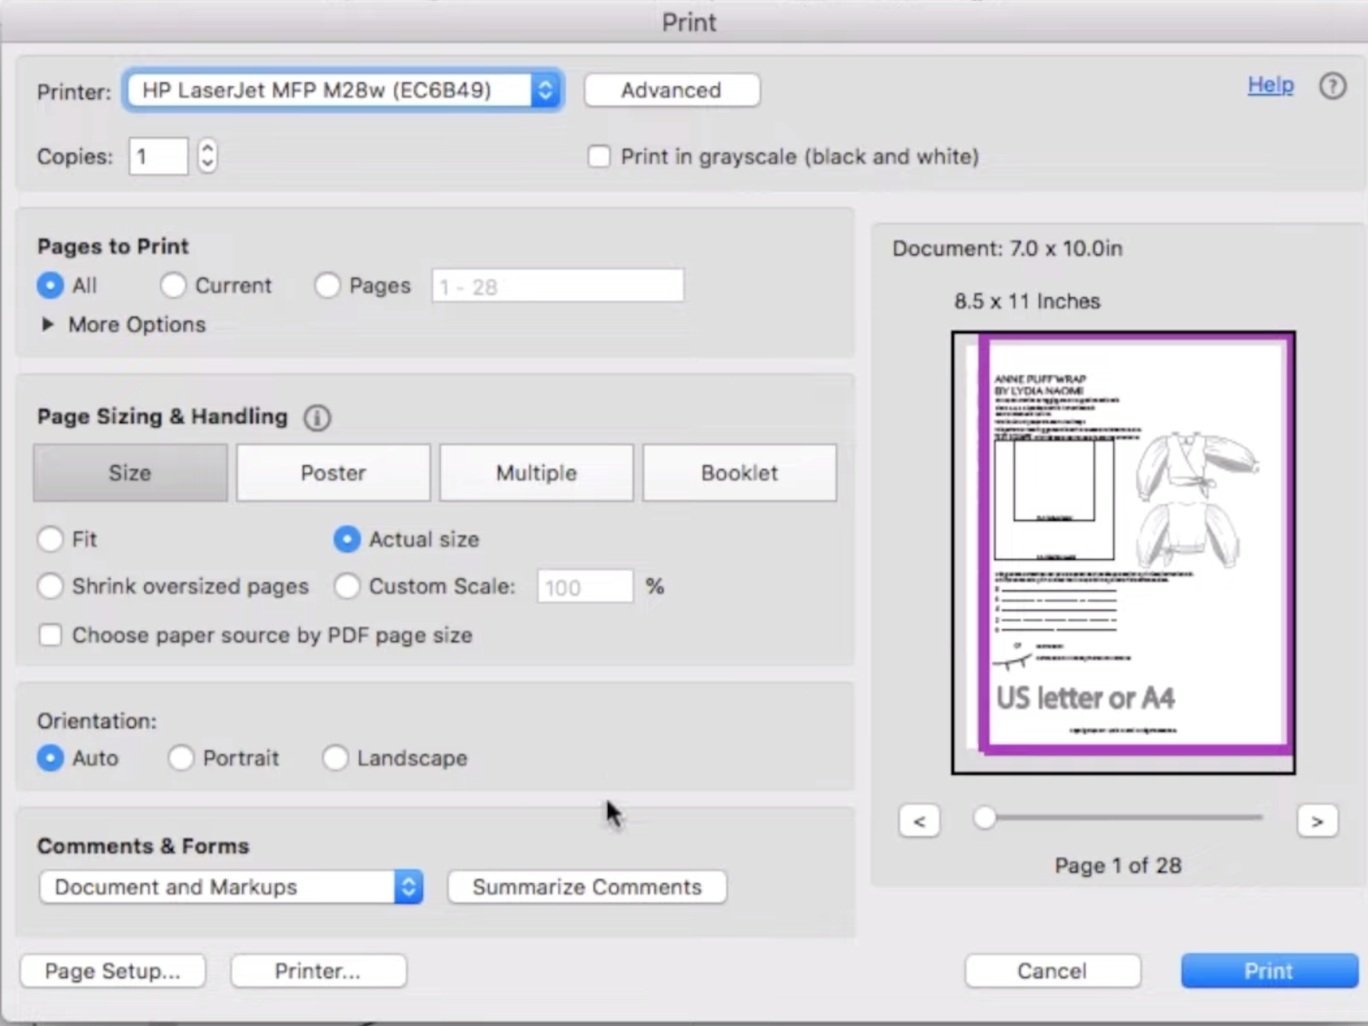
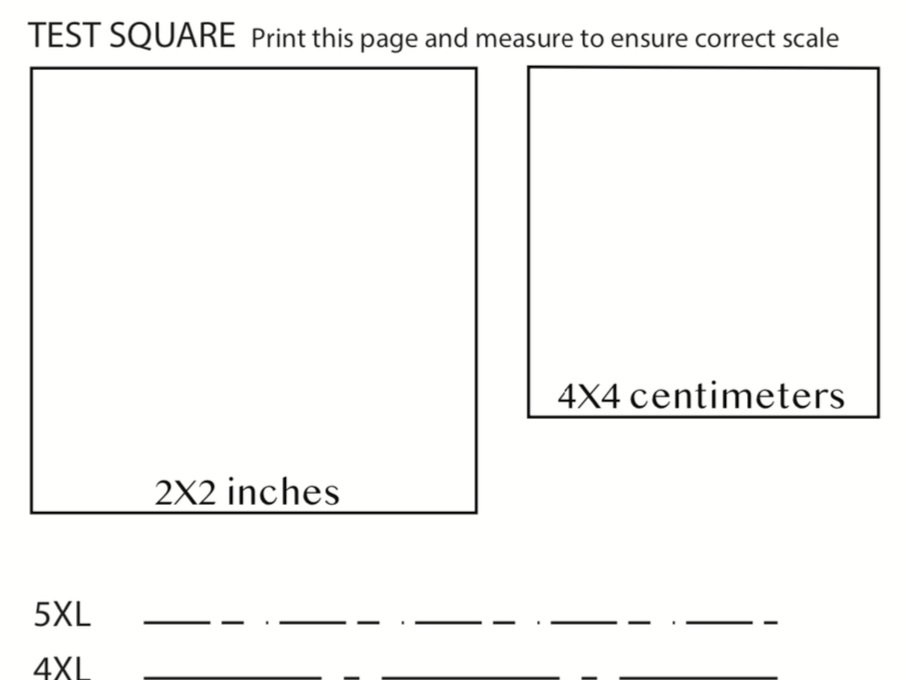
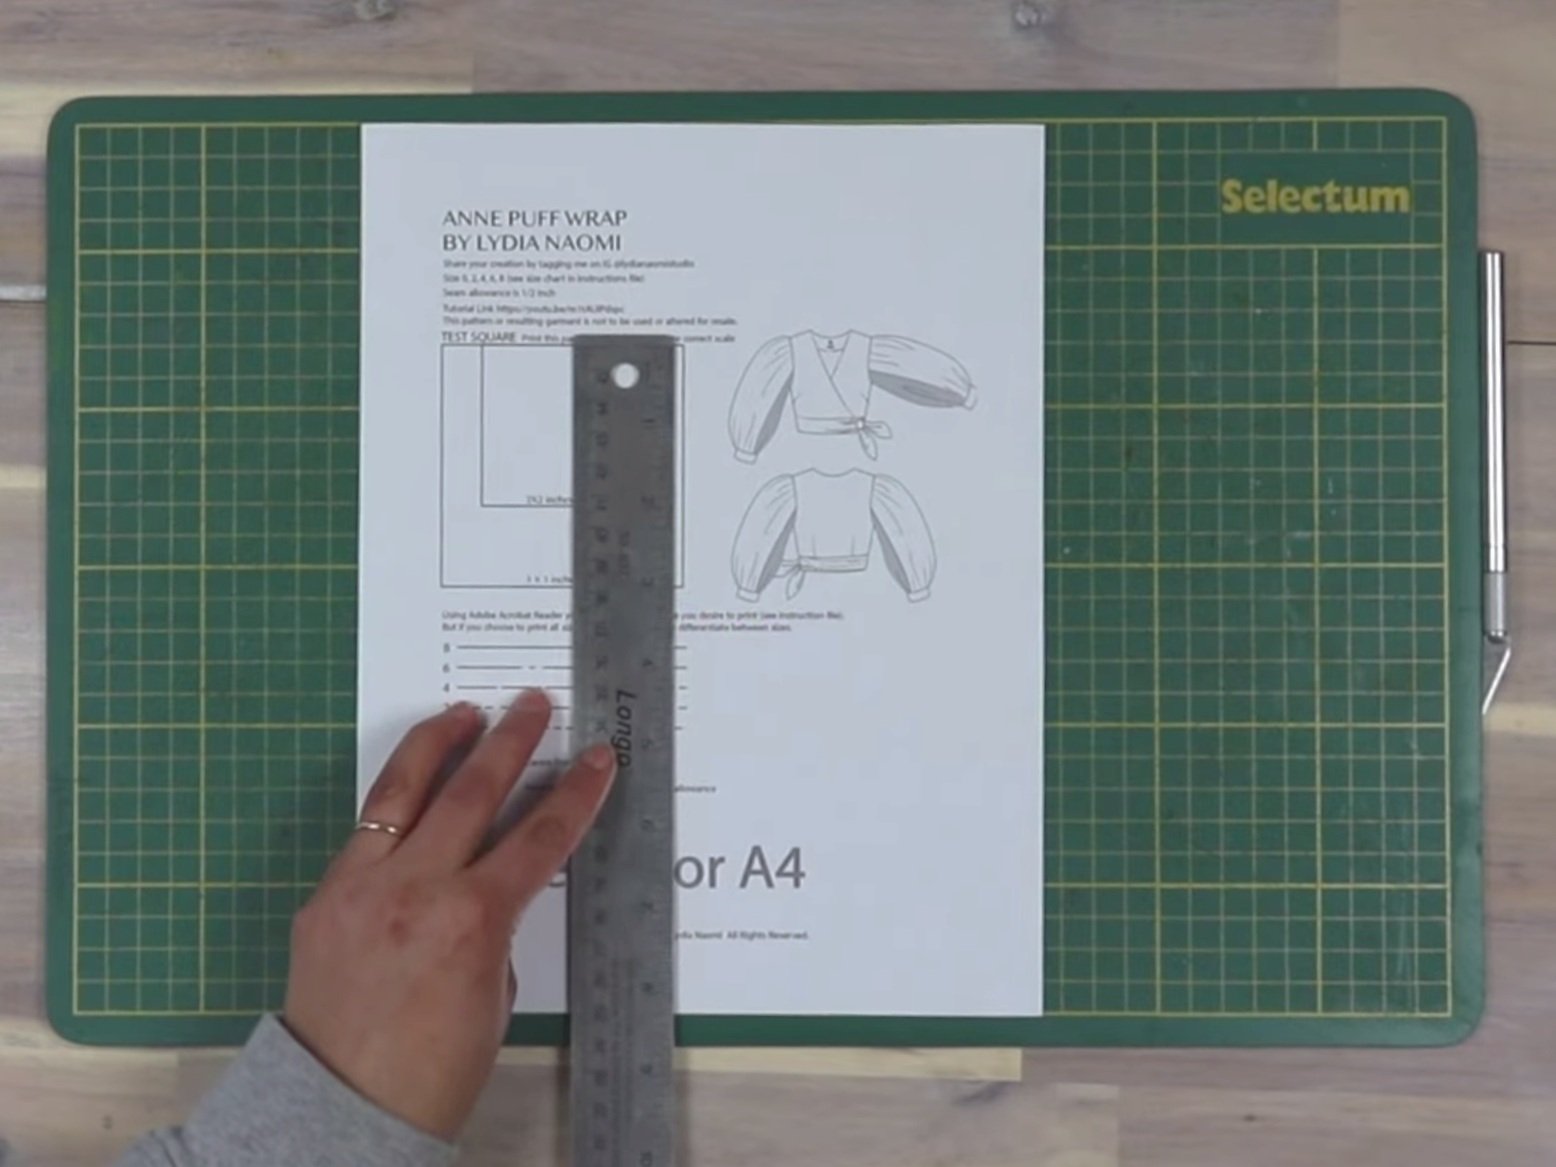
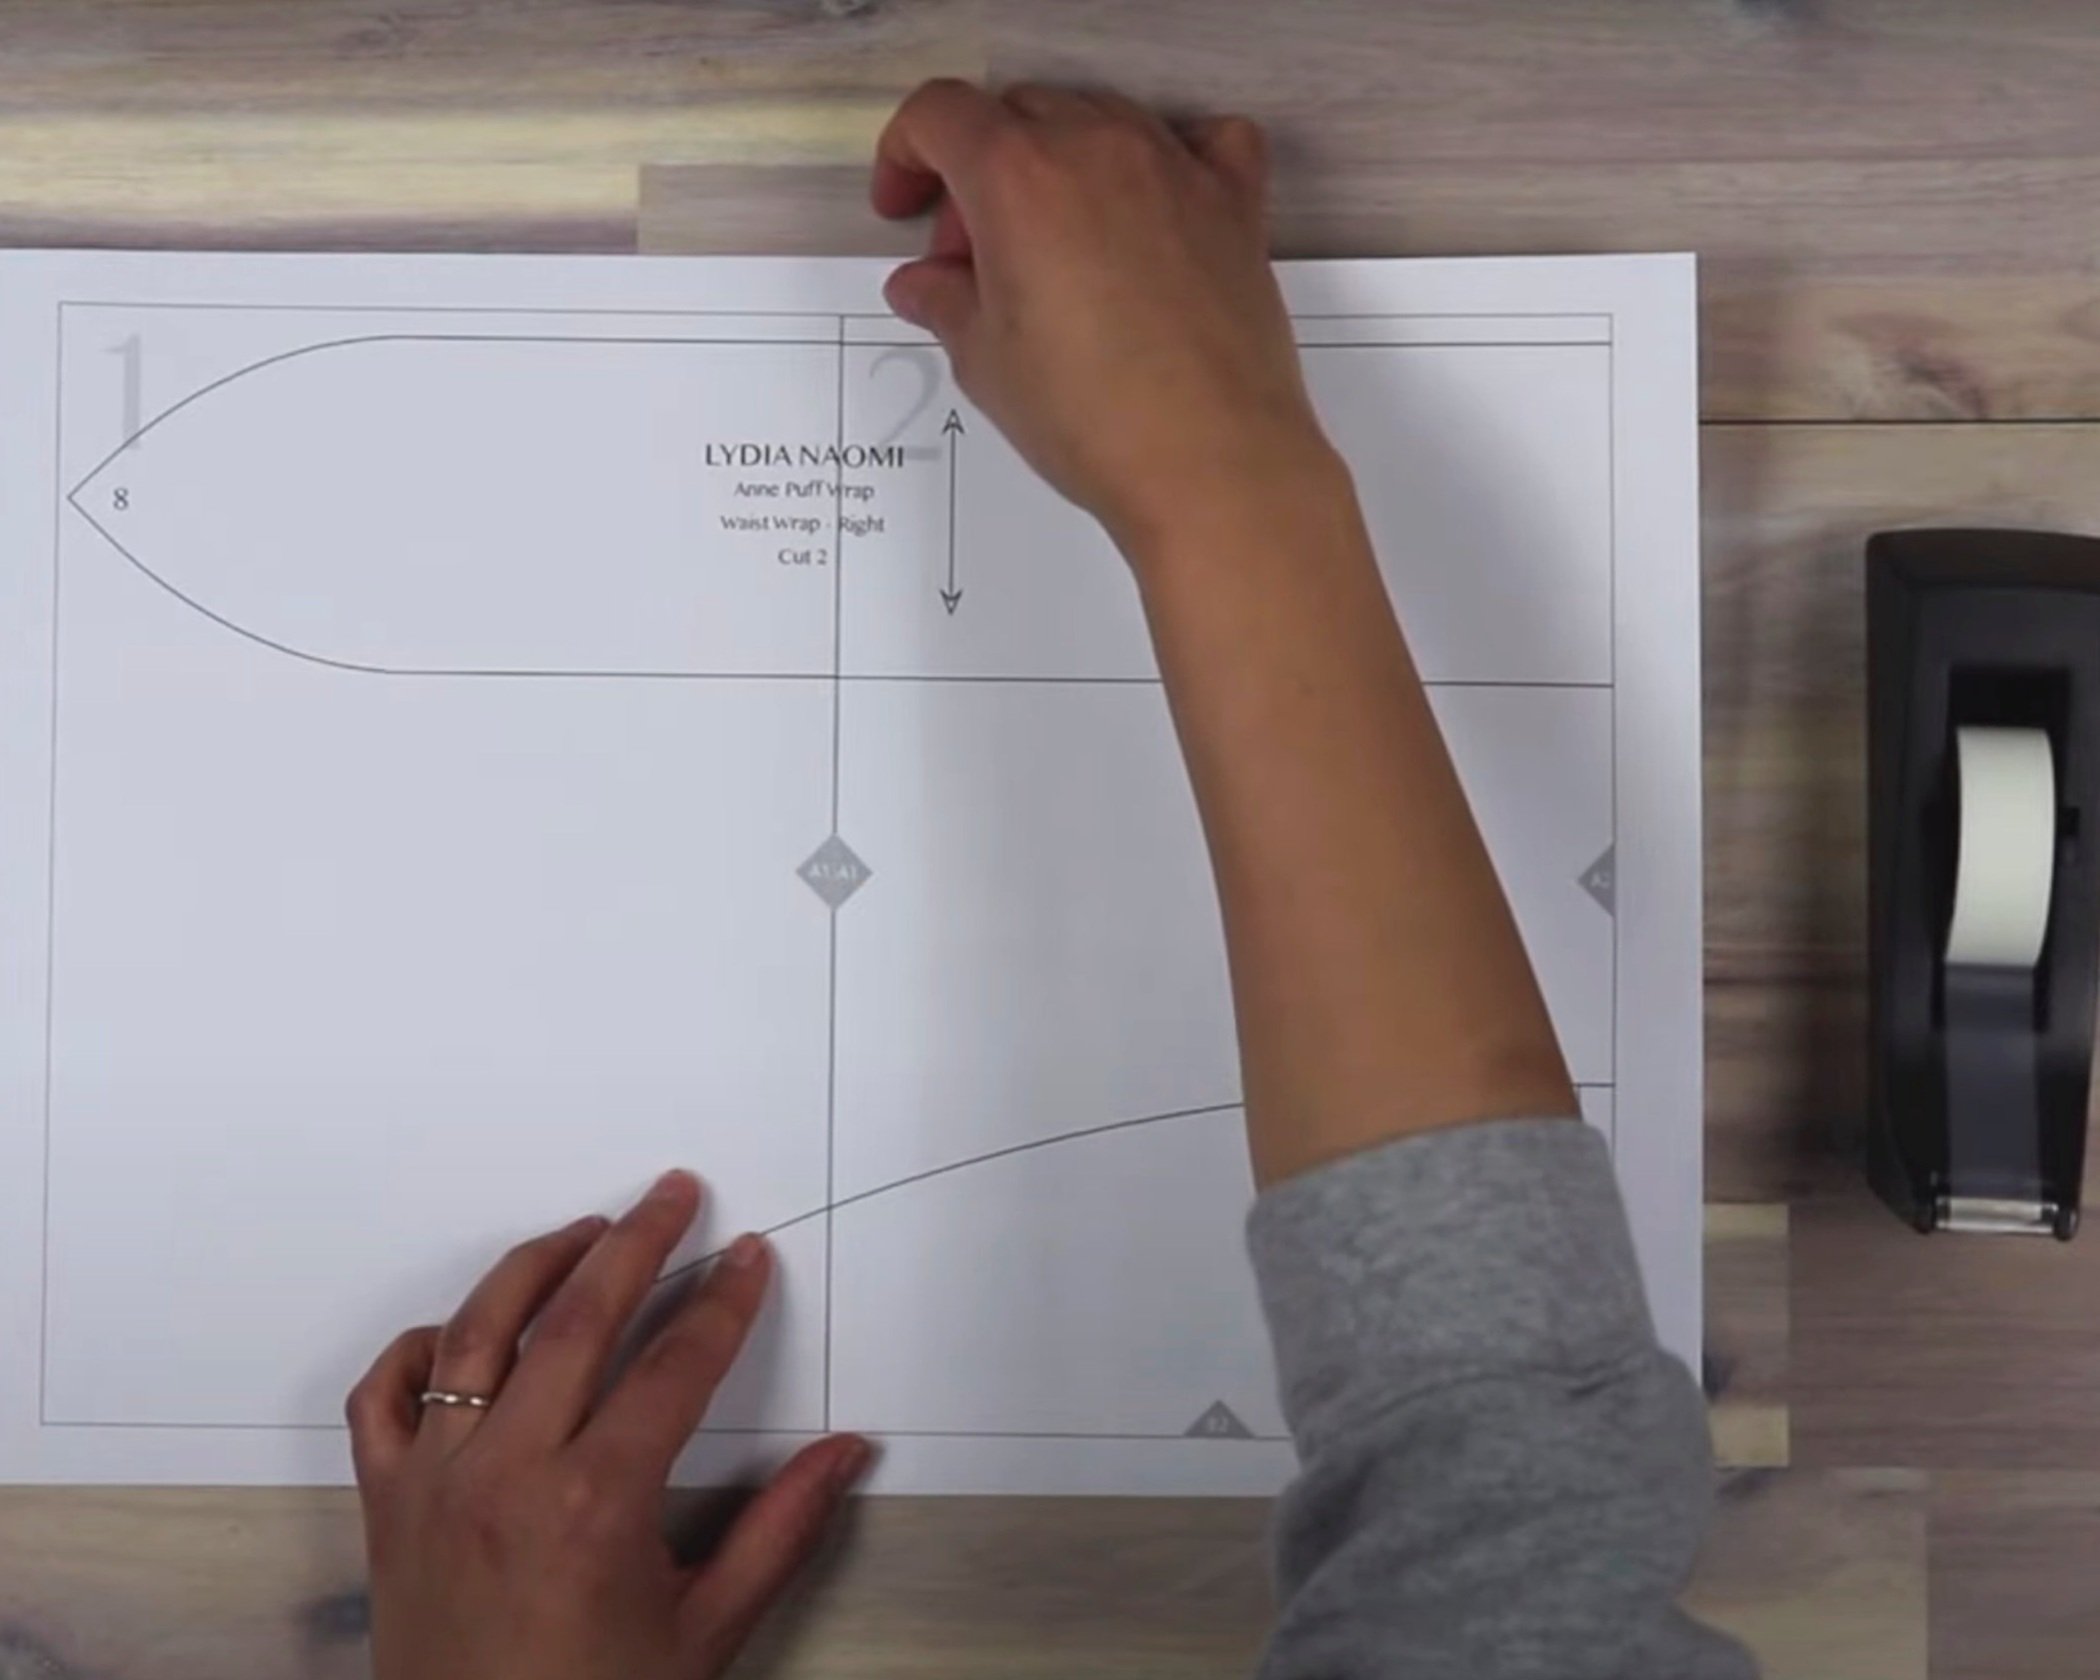
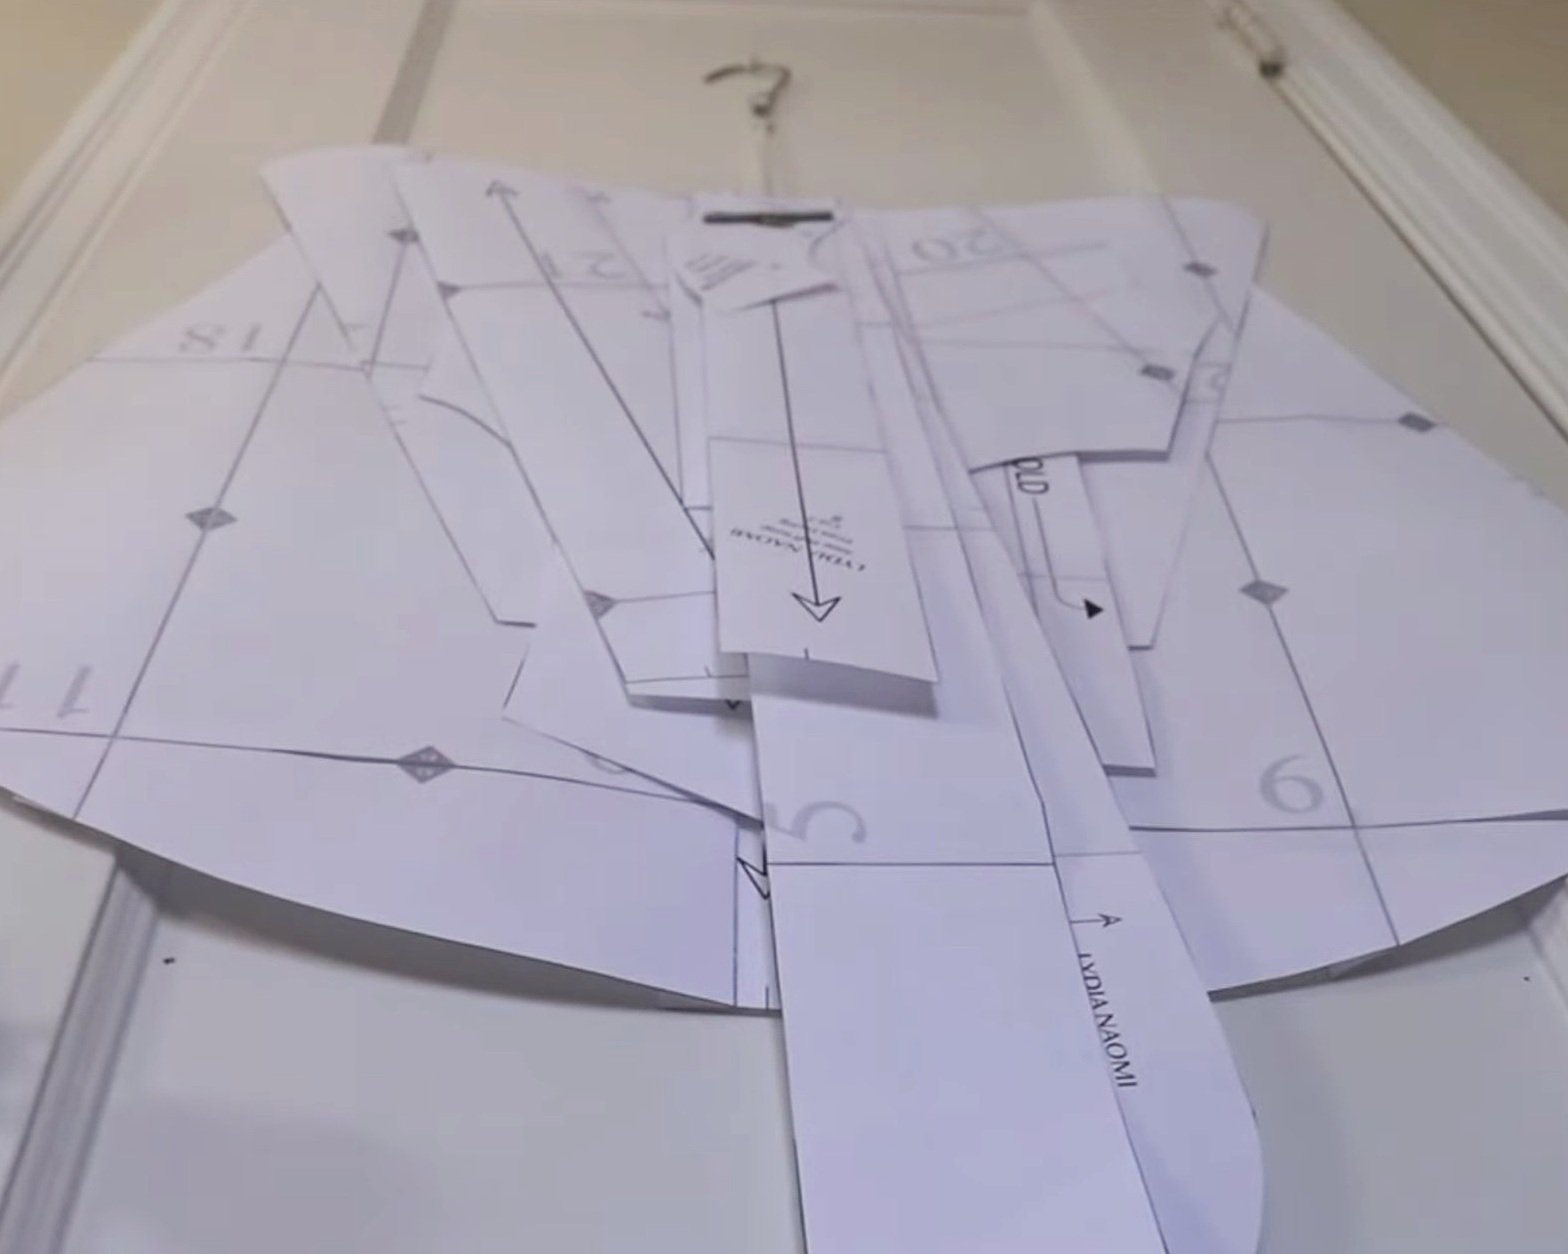
How to Print and Assemble a PDF Sewing Pattern

If you are new to PDF patterns, it can be daunting understanding how to get all those pages printed correctly or how to assemble them. The good news is that it’s easier than it seems! In this post I will lay out some tips to help you understand how to print, trim and tape together PDF patterns, specifically for at—home printing.

You can also check out my YouTube video for the steps. But for a quick and easy overview, keep on reading!

WHAT IS A PDF SEWING PATTERN?

PDF Sewing patterns are a collection of downloadable digital files containing sewing pattern pieces and sewing instructions. The perk is that you can download and print immediately after purchasing a PDF pattern, no shipping required. Depending on the designer, a PDF pattern will most often include an instruction or ‘Read Me’ file, A4 and US Letter home printing file(s), and A0 copy shop printing file and possible a projector file (these aren’t as common but are on the rise). I will explain each file below.

In my patterns I include an instruction file called the Read-First file with all the sizing, fit, fabric requirements, pattern adjustment guides, and written instructions. I include two separate flat files for A4 and US letter (flat meaning that you will print all sizes together) then a layers file for both A4 and US that allows you to only chose to print the size you want to make. I also include a large format A0 file that you can print at a copy shop and photo instructions. Each of my patterns comes with a detailed video tutorial linked in each file. Check out my patterns for purchase & instant download here.

1. READ THE INSTRUCTIONS PROVIDED

Most questions you might find yourself asking will likely be touched upon in the ‘Read-First’ or instruction file. So to avoid any unwanted mistakes and to better understand the pattern and process, get comfortable, make yourself some tea and spend a couple minutes reading through that file! You may even discover you’re able to buy slightly less fabric or print a few less pages, as often patterns may come with more than one design option.

2. DETERMINING WHICH FILE TO PRINT

Once you have read through the ‘Read-First’ or Instruction file to determine your size, and style option (if that applies), then it’s time to start printing. You may have noticed that your pattern download included multiple files to choose from.

The homeprint (US, A3, A4) are flat PDF files that you can open and print immediately from home. These have all the sizes nested together with different style lines to differentiate. You shouldn’t have any trouble with these simple files so long as you print them at 100% scale (a.k.a actual size).

The large format file (A0), is an option if you don’t want to spend so much time trimming and taping your pattern.
Check out my other blog post for more info and a reference list of a few places to print A0 files.

I include a file labeled “LAYERS“ this file requires opening with Adobe Acrobat and is both US, A3 and A4 compatible. Free Adobe Acrobat download here. The benefit of this file is that you can choose to print only the size layer that you want (more on this in Step 4).

3. PRINT IN 100% SCALE

I don’t think I have ever come across a PDF pattern where there isn’t a variation of this statement: “Print in 100% scale people!” Check your print settings, and smash that [actual size] button, or select 100% scale.

Don’t print the entire file yet, print only the page with the test square (usually on the first page). Measuring the test square will show you if your file is indeed printed at 100% scale. If it doesn’t measure according to the directions you need to adjust your printer settings. This doesn’t happen often if you set the scale to 100%. Once you’re sure that your settings are correct, go ahead and print the rest of the pages.

4. PRINTING ONLY ONE SIZE

If you wish to print only a select size, then open the layers compatible file (mine is labelled ‘4LAYERS_[Pattern Name].pdf’) with Adobe Acrobat. Free Adobe Acrobat download here.
Select the layer tab and toggle off the layers with the sizes you don’t want to print. Make sure you leave the other layers visible (Labelling, Letters, Page Numbers, Rectangles, Instructions). When printing, again, make sure your pattern is set to 100% scale or actual size. Print out page one first and measure the test square to ensure that you are printing in the correct scale.

5. CUTTING THE EDGES
Check if the designer set up an edge to edge file, this just means that you don’t need to do any trimming so you can skip those steps completely.

Now that you have your printed file, it’s time to trim down the edges to make them easier to match up and keep everything aligned. You will need a pair of scissors or my favourite: a cutting mat, ruler (preferably metal), and a blade.
Organization is key in this step so give yourself some space so you can make piles of each row once you have trimmed them. It is also good to note that to match the pages together most accurately for my patterns, it is best to trim right on the outer edge of the line.

For the first row leave page one un-trimmed. For page two to the last page of the row, trim the left side only. For the second row trim the top only for page one. For page two to the last page of the row, trim the top and left side. Continue this for the following rows, keeping them in order by placing them face down on top of one another. I also like to keep them in piles corresponding to their rows.

6. TAPING

Beginning with the top row, tape each page together. Use the diamonds as guides, and match the outer edges of the lines. For the first row, overlap, match and tape the sides, and for the second row onwards you will also need to match the top edges as well. You can also tape together each row separately then stack them together after.

It is now time to cut out your size. If you printed all layers, take a highlighter and highlight your size indicated with the specific line style and cut it out!

TIPS FOR STORAGE

Once you are finished with your creation, you may want to save it for another time. Here are two ways I like to store my patterns:

1. Neatly fold your pattern and place it in a manilla envelope.

2. Stack your pattern with each piece in the centre and the largest pieces at the bottom. Then use a large hole punch to punch a hole through all pieces (or as many as the punch will handle) then use a pattern hook or string together and hang in your closet or designated clothing rack.